I’ve built a few little boats. The first one I built was a Puddle Duck Racer. It’s a great boat, but that is another story.
This boat is basically a Puddle Duck, but 12” narrower (so 3 feet wide instead of 4 feet). Puddle Ducks sail much better than they row. I’m hoping this one will improve rowing at the cost of some sailing capability. Other things as well. That will be a whole other post.
So, I’m 18.5 hours into this build. It’s a prototype so I didn’t want to spend too much time, energy, or money on this. My plan was to use material I already had. Unfortunately, the 1/4″ plywood I have is some of the nicest Home Depot 1/4″ ply I have ever seen.
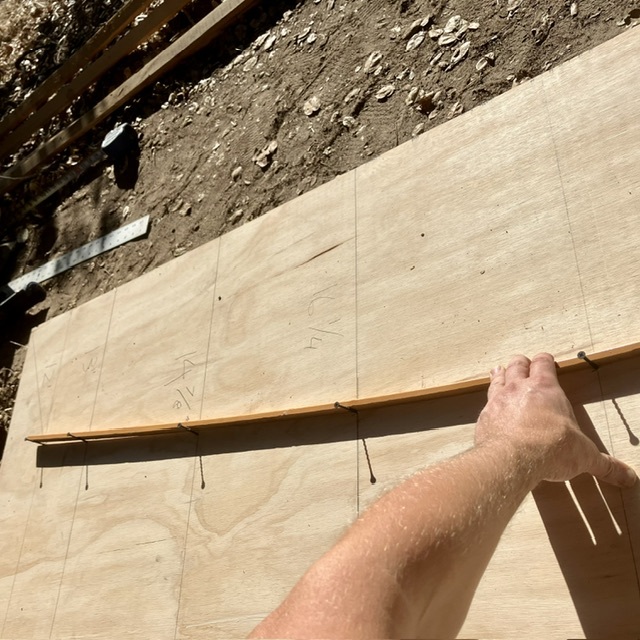
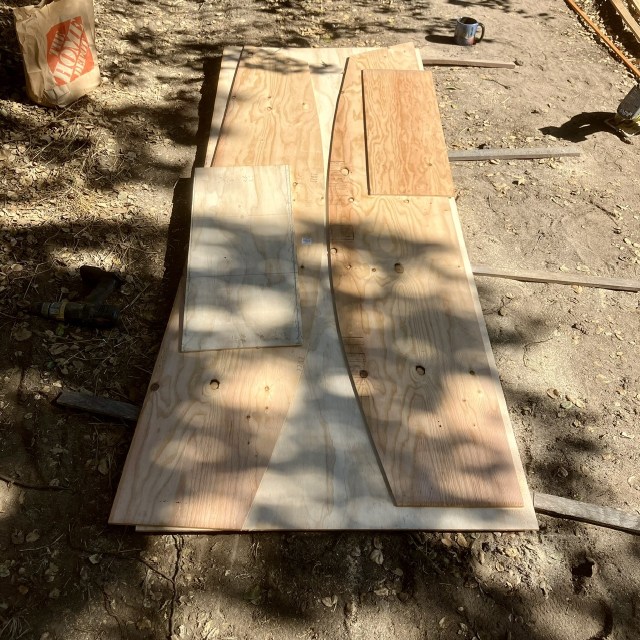
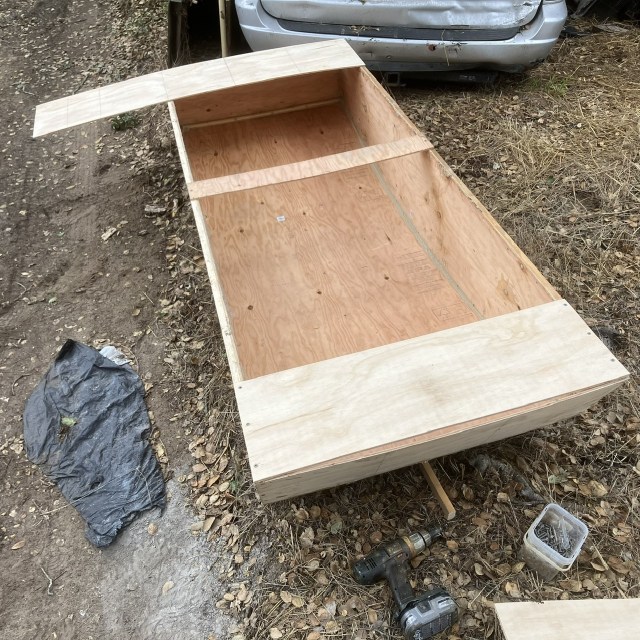
I didn’t want to use it for this, but it’s all I had. It’s actually slowed me down a lot because now I feel like I have to do justice to nice materials 😆Draw lines across plywood at 12″ intervals. Measure out prescribed distance along each line and make a mark.Drive a screw into each mark. Hold a batten against the screws, trace the line.Cut along lineTake that piece. Flip it to the other side. Trace it. Cut that side out. Cut out a couple rectangular piecesThese five pieces represent the sides, front, back, and bottom. How to join them together?Gotta put some little framing sticks around the sides. Set the two sides upside-down. Prop them apart like this. Attach front and back rectangle pieces to the framing sticksTake that big piece and put it on the top, I mean bottom! Screw it to the framing sticks!I know, this doesn’t look like what you think a “boat” should look like. That’s a whole OTHER essay. Short story is, a lot of very important benefits VASTLY outweigh a few drawbacks.
The picture above demonstrates one of the great benefits – easy storage. And if you want you can even install temporary shelves.
And if you hate the boat, you can add some doors and turn it into a garden shed!
I’m trying to design this boat so that it can be built with only the most commonly available materials, basic tools, and rudimentary skills. I spent a lot of time today pondering an easy method to join the little rectangular pieces to the rest of the hull wherever the angles aren’t 90 degrees. Attached a stick along the bottom, and added this skeg. (As you can see it loads very nicely on top of a vehicle).
I’ve almost got it to the point where I can try it out for rowing!
Mate and I were able to crawl out of bed in time to get in an early morning stroll before she had to start work. Oh look, my oil streak runs all the way down to the end of the driveway (and out into the street). I have never regretted…
Mate is out of the country again for several weeks, so I am left to my own devices. Thus any mitigating effect she has on my eccentricities is gravely attenuated. The tiny home we share has been sliding into a state of chaos over the past three weeks since we…


wow, wow, wow,
where will you use it? Do you have water nearby?
It’s a boat for sheltered waters. There are some small lakes and ponds around, as well as a river and an estuary. 🙂